Showing posts with label Battle Report. Show all posts

Thursday, 1 September 2016

Song of Drums & Tomahawks Second Play


This week we tried a second game of Song of Drums and Tomahawks.  This time we tried a scenario driven game.  My Provincials had sent out a patrol to capture an evil French Spy from their base, the Inn they captured before.  The French and their Indian Allies were trying to rescue the poor Italian priest the wicked British had dragged away from his flock.

The Provincials forces comprised:-

Garrison
One Officer
One Grenadier
Four Line Infantrymen

Patrol
One Sergeant
Two Rangers
Four Line Infantrymen

The French and Indians forces were:-

Indians
One War Leader
Four Warriors
One Young Indian Warrior

French
One Officer
Four Marines

This is the Inn garrisoned by the Provincial's Officer and a small group of soldiers.


This is the patrol with their prisoner in tow.


This is the end of turn one with the patrol hurrying back to their base with their prisoner.  The French are close behind and the Indians are hiding in one of the woods.  The patrol has gambled on the Indians being in one of the woods on far side of the board.  They moved in a group using the March move.  We allowed the Rangers to use this group move even though they normally wouldn't have been allowed to.


The Indians were in one of the woods on the far side of the board but quickly moved out using the Indian File group move.


Luck was with the British as they were able to double time whilst the Indians faltered and failed to move at all, meaning their French Allies didn't appear.   The patrol rushed onwards whilst the Indians slowed. Only the Young Warrior managed to move to get close to the patrol.


The French finally appear in not so hot pursuit.


The patrol slowed as the Indians managed to finally catch up, making for cover from which to snipe at the soldiers even though the Inn was in sight.  The Grenadier had opened the gates in readiness.  Two of the Provincial Infantrymen stopped and fired at the Indians.  They both missed but the Grenadier was able to knock down the foremost Indian.


More fire from the Inn knocked down a second Indian.  Things looked good for the patrol.


The French were far, far behind.


When it appeared safe the patrol faltered and the Indians managed to recover and come howling into the attack.  The Sergeant dragged his prisoner and a single Soldier and pressed on, just failing to reach safety.  The garrison began to sally forth to help.  The Grenadier charging into contact, while the War Leader engaged one of the Rangers and the Young Warrior attacked the stragglers.


The officer tried to grab the Priest and run back into the Inn but he tripped and his side lost the initiative.  The Indians rushed into the attack.  One of the stragglers killed the Young Warrior but was then shot by another Warrior who drew his scalping knife and began to move to collect his trophy.  The Grenadier was knocked down by the Warrior he was fighting despite his strength and a soldiers support.  The War Leader killed the outmatched Ranger he was facing and another Indian caught the Provincial's Sergeant making him release his prisoner.  The Priest had a chance for freedom.


The Provincial's Officer was having none of it he slapped the Priest across the face, grabbed him and hauled him back into the Inn, winning the game.  The British Sergeant attacked his outnumbered opponent and just like last week ended up on the ground.   The rest of his force engaged in inconclusive skirmishing with their enemies.


To be honest this was the third time we'd played this scenario.  The first two occasions were on a smaller board and both the Indians and French started off the board.  The French came on after the patrol crossed the third hex and the Indians came on after a scoring equal to or under the current turn number starting in turn two.  They would come in on either board edge, chosen before the game began.  This didn't give too much of a game with the patrol easily outstripping its pursuers.  Below are a few photos from these earlier games:-

The Indians making use of their Woodsman ability and in Indian File.


The patrol outpacing their French pursuers.


The patrol almost safe.


The French scatter to fire on the patrol.


In the second game the patrol was outguessed by the Indians and had to double back to avoid them.


Friday, 26 August 2016

Song of Drums & Tomahawks First Play


This is an after action report on the first game of Song of Drums and Tomahawks a couple of us played last night.

     I took the British and my friend Mark took the French.  My force was comprised of:-

1 British Officer
1 British Sergeant (a drummer in the photos)
1 British Grenadier
2 British Rangers
3 British Soldiers

Mark's force was:-

1 French Officer
1 French Sergeant (Customised to drop the Primitive Weapon but add a Musket)
3 French Marines
1 French Courier de Bois
1 Civilian (with a Pistol and Strong)

The location of the battle was at a remote Inn in the far north of the British colonies.  The aim of both sides was to capture the Inn, the French to loot and burn the British to occupy.  The first picture shows my forces deployed on the board edge.  Mark's troops were in the wood on the far side of the Inn.


This is a close-up on my Provincial Troops.


Mark's troops went first and his Marines took up position on the far side of the Inn.  His Courier de Bois tried to outflank the British. The rest moved to occupy the Inn.  The British moved up the two Rangers firing on the Marines.  First Blood to the British when a lucky shot wounded one of the French Marines.  The Courier de Bois was knocked down by more Musket fire.  The photo below shows the scene with the British Sergeant in the Inn yard aiming to occupy the Inn.  Harder to see is the British Grenadier by the front door of the Inn.


Things didn't go well for the British with return fire from the Marines wounding the Ranger who had brought down their friend.  The Courier de Bois recovered before he could be finished off and the French occupied the Inn first knocking down the British Sergeant in the yard.  The British Grenadier still couldn't get inside.


Things went from bad to worse with the French civilian wounding a soldier with his pistol from an Inn window.  The Sergeant failed to get up and the Grenadier still couldn't get through the door.


 The British Grenadier burst through the door and attacked the French Sergeant.  The Sergeant easily defeated the Grenadier leaving him wounded on the floor.  The British Sergeant regained his feet and followed the Grenadier through the door but couldn't come to grips with the burly Frenchman.  The French civilian knocked down another British Soldier.  Things were going very badly for the Brits.  To make matters worse the vulnerable Courier de Bois had made it back into the lee of the Inn.


The Brits through a combination of bad luck and poor choices did very little for several turns.  Their Sergeant was driven back by a series of attacks by his French opponent.  More Frenchmen entered the Inn.  It looked like the end for the plucky Brits.


Another turn of British inactivity with their Sergeant driven back again by his opposite number.  The remaining British Ranger was knocked down by musketry from the French Marines.


In following up his success the French Sergeant had moved in front of the open door.  The British Officer taking careful aim with his pistol fired and brought the French Sergeant down.  Two French casualties now to three British but the morale tests made by the French meant the two remaining Marines disappeared back into the woods and the Civilian abandoned his place to fall back.  The Courier de Bois was made of sterner stuff and didn't move.


Most of the British gathered outside the Inn gate whilst the Sergeant faced the French Officer and Civilian inside the Inn.


All the focus was now on the interior of the Inn.  The British Officer sent in a Soldier to support the Sergeant.  It looked to be too late when the Sergeant was knocked down by a shot from the French Civilian.


The British started to move up to support the Sergeant.  He made it back to his feet and into contact with the French Leader only to be knocked down again.


The climax of the battle came in the interior of the Inn with the British Sergeant repeatedly knocked down yet surviving attack after attack.  Finally with support from the Soldier he killed the French Officer and most of the Frenchmen fled leaving the field to the British.

The final view inside the Inn.


It was a close game with my poor play and poor luck almost costing me the game after 4-5 turns.  It was the lucky shot that killed the French Sergeant that turned the game in my favour.  I probably should still have lost as my Sergeant had to survive several attacks whilst knocked down.  When the tables were turned his luck held and he killed his opponent.

The rules work well but there are a few differences to other Ganesha rules most notably the Group Action rules.  These only allow certain types of troops to move as a group and then only in groups of the same type of troop e.g. Regulars, Rangers or Indians.  Each of these groups has their own type of group move and Leaders usually get to move along with their troops.  The weapon rules are similar to other Ganesha rules but Muskets are pretty powerful though not super-weapons.  Overall a good set of rules.  Next time we'll try some other troops with perhaps some Indians. 

Sunday, 12 June 2016

To The Strongest - Seleucids vs Carthaginians

On a sunny Sunday afternoon in Manton we gave To The Strongest another play.  This time we were pitting Mark's Seleucids against Steve's Carthaginians.  The Seleucids had two commands, one with four pike units supported by light troops and another with a more diverse selection of units including two Cataphracts, a unit of Agema, a unit of Thracians, one of Thureophoroi, two raw Bowmen units and a unit of Scythed Chariots.  The Carthaginians had three commands, their left command was made up of Spanish Scutarii, Italian Allies and a unit of Ligurians with a couple of units of light troops.  Their centre was made up of African Spearmen and its right comprised veteran cavalry, some Numidian light horse, some light troops and a unit of Elephants.

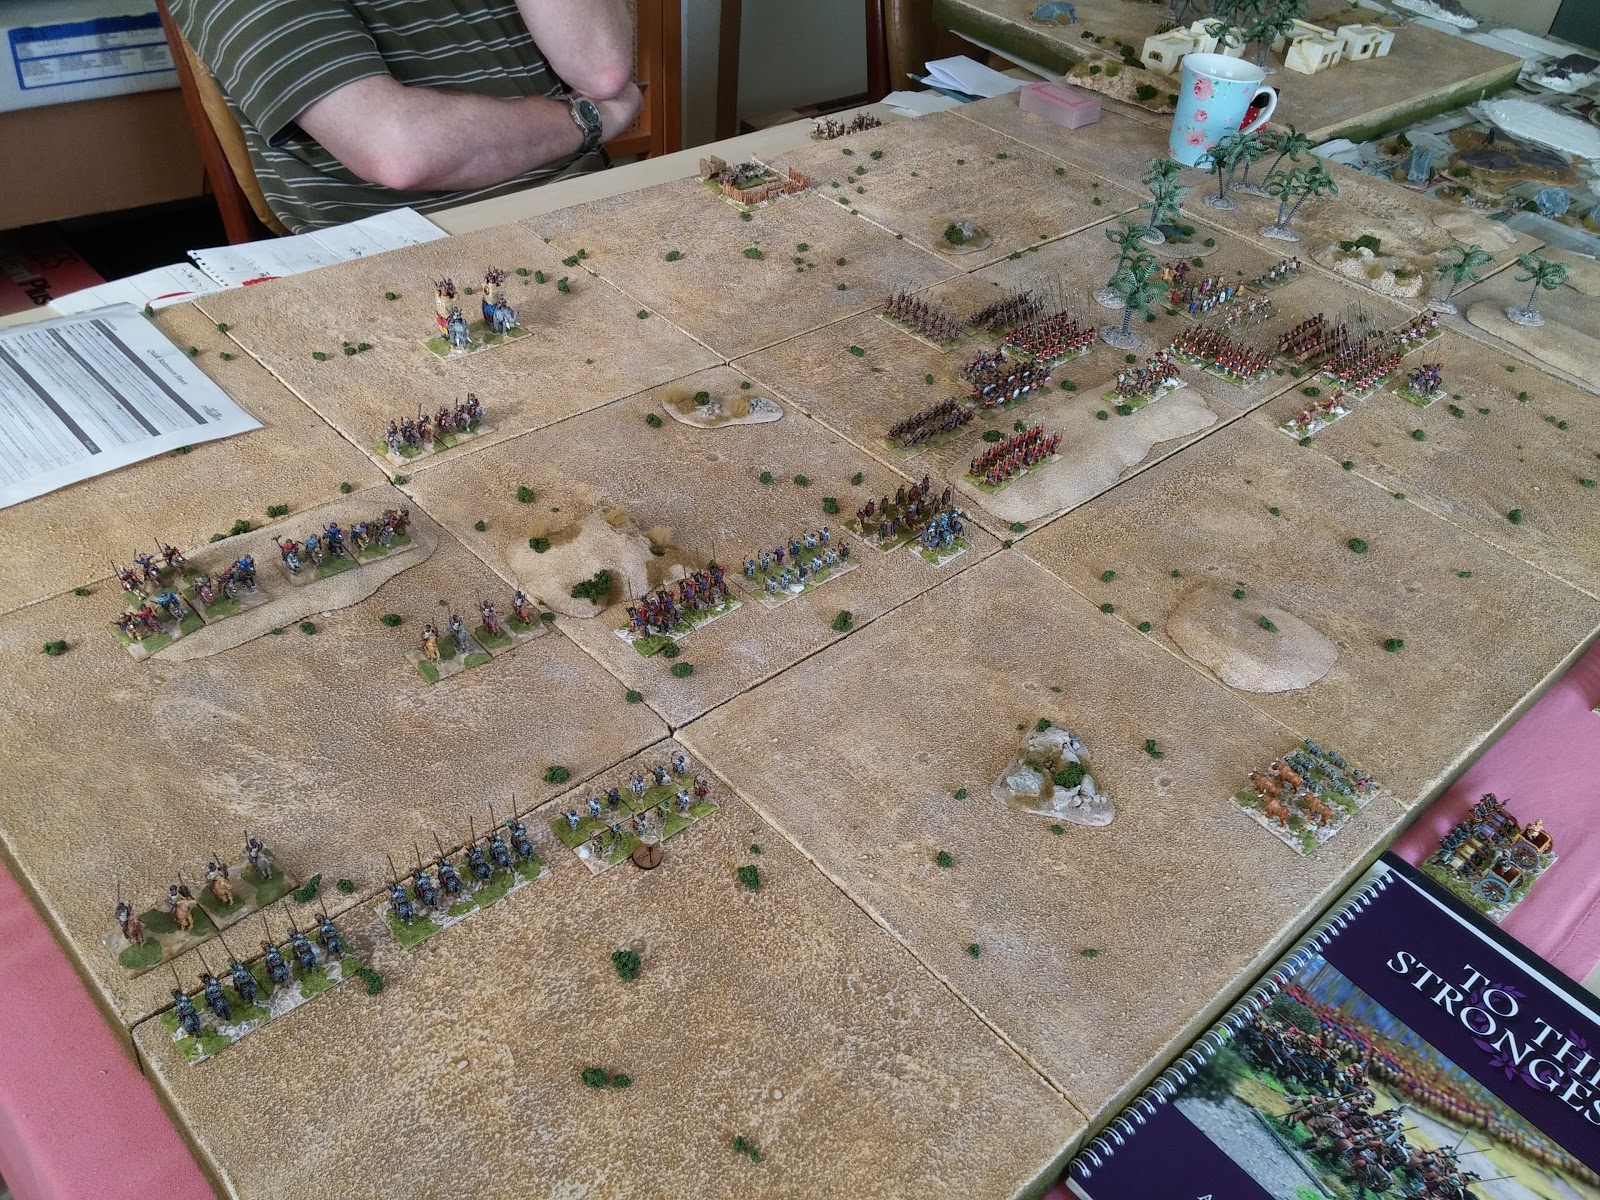
This is an overview of the battlefield with the two armies deployed.


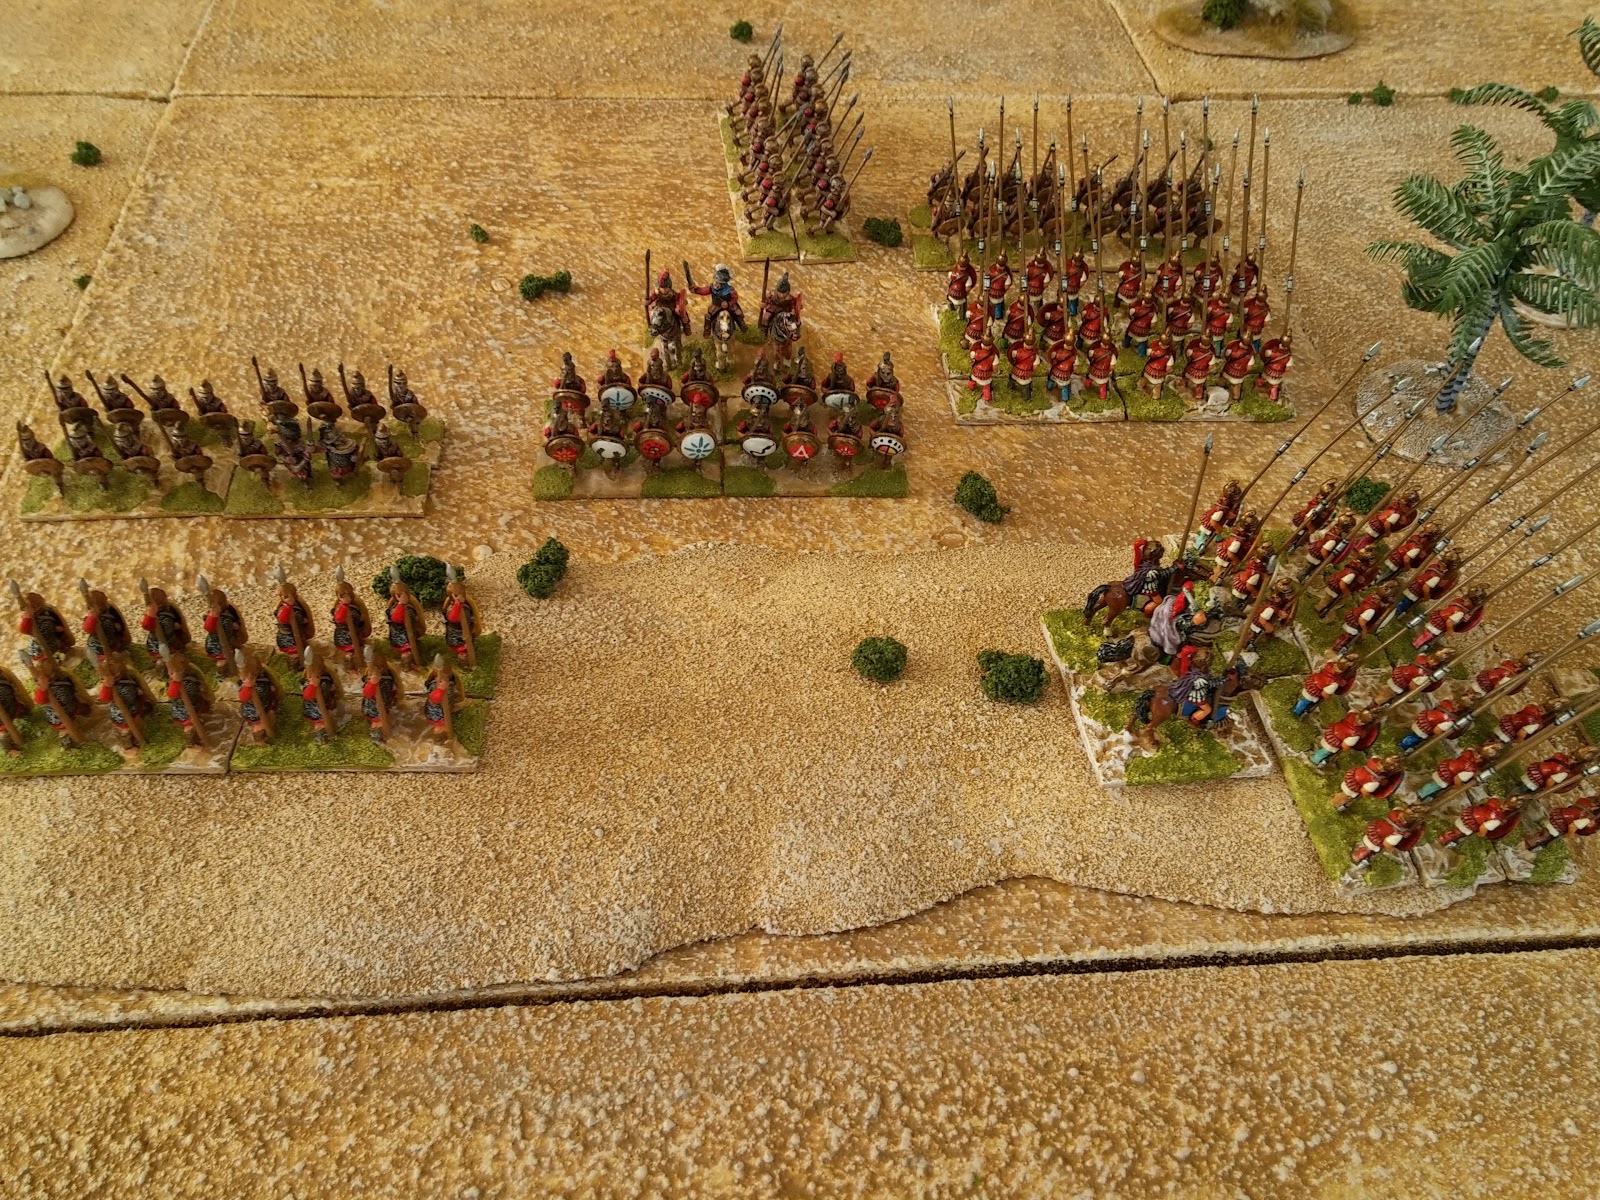
This is a close-up showing the Seleucid left wing, confusingly on the right of the photo and the Carthaginian right on the left of the photo.


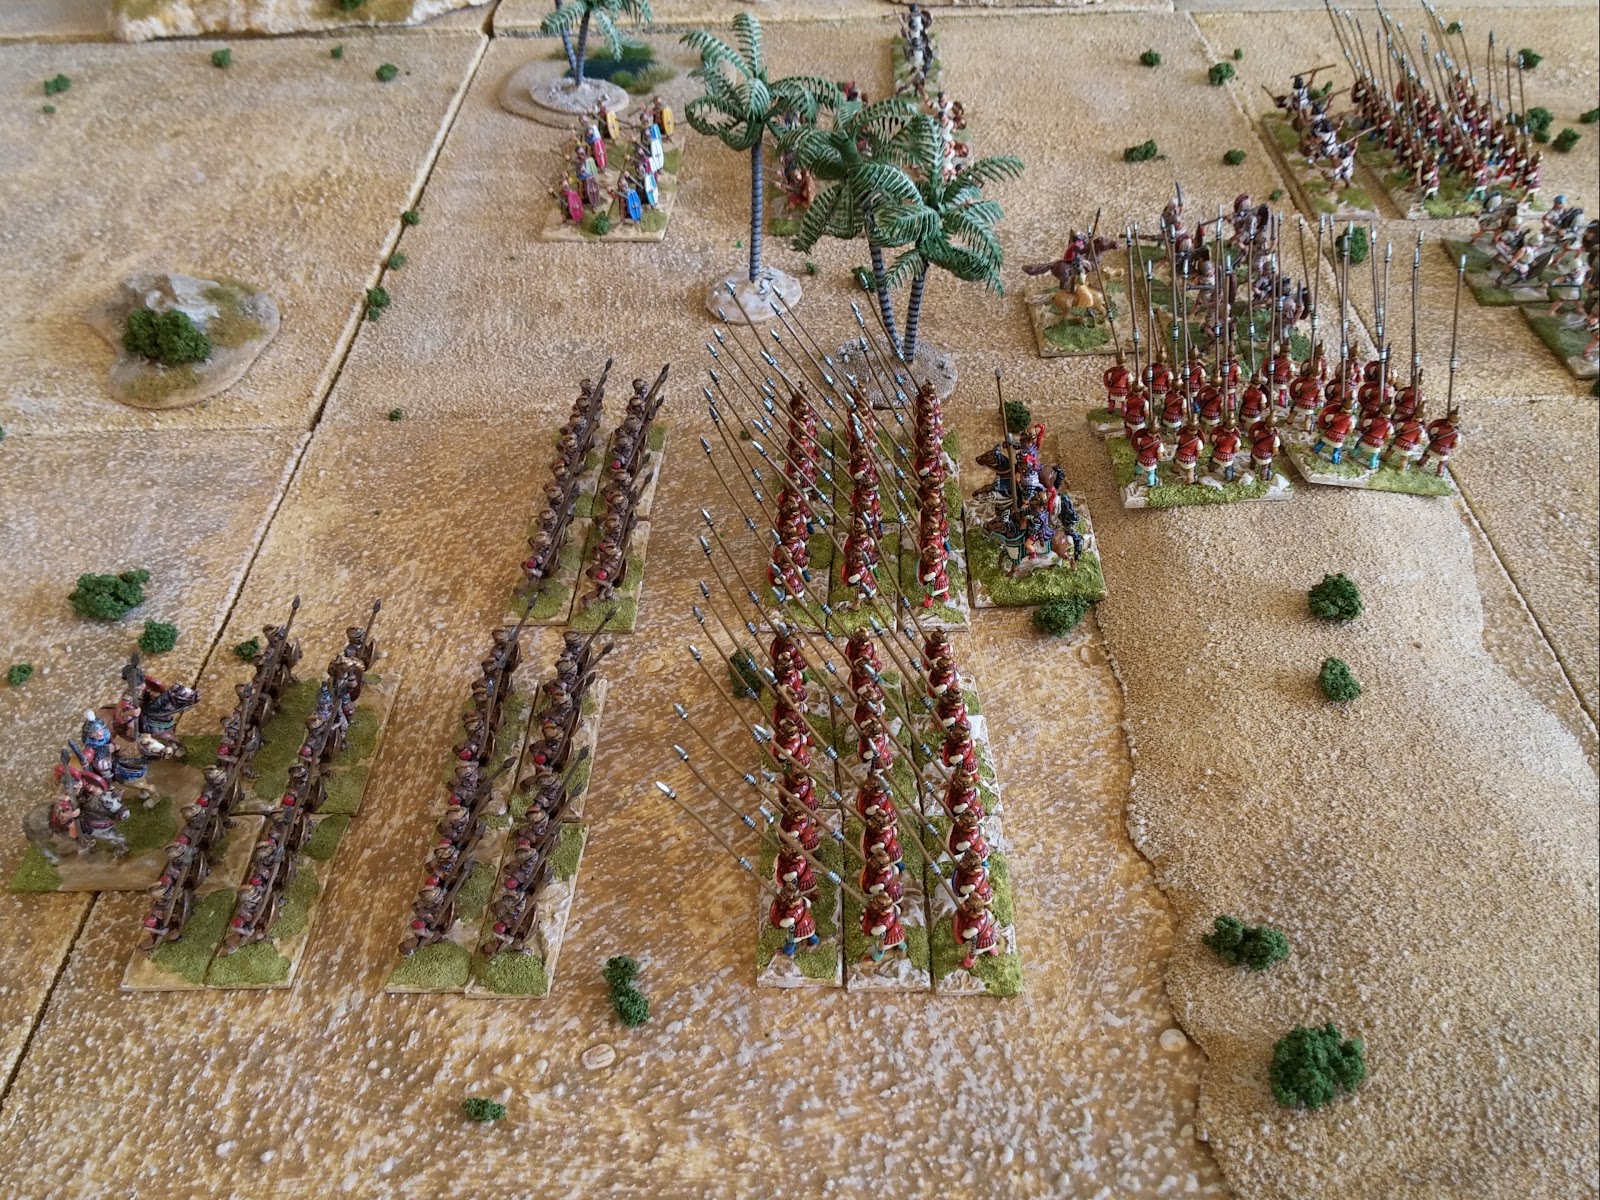
 A close-up taken from behind the Seleucid left flanks General.  It shows the unit of Agema the General is currently attached to, the unit of Scythed Chariots, the unit of Thracians and just visible on either side the units of raw bowmen.


A view of the Carthaginian centre from the Seleucid side of the field.  The fortified Carthaginian camp can be seen in the background.


The Carthaginian right flank with Numidian Light Horse and veteran Celtic Cavalry.


After turn one the Carthaginians were advancing in the centre and their left with little movement on thier left.  The Seleucid phalanx had taken up a defensive position on the hill and on the left I was engaged in complex manoeuvres to get my scythed chariots into play.  I'd also extended my line to the left to block the Carthaginian Numidian Light Cavalry.


On the Carthaginian left the Spanish Scutari had captured a small wood.


The phalanx on the hill looks on as the Carthaginian spearmen advance.


This was the beginning of my fixation with getting the scythed chariots into place.


The Seleucid Cataphracts secure their armies left flank.


Turn 2

By the end of turn two the centre had engaged and the phalanx had turned in on the Spanish that had pushed out of the wood.  The Seleucid left and Carthaginian right had hardly moved.  Watch the Carthaginian Elephants.....


The Numidian light cavalry ride forward.


A close up on the centre fight.


Turn 3

After turn three the Numidians had engaged the Cataphracts with their javelins.  The centre engagement continues with the phalanx seriously disjointed.  On the left I'd managed to get the scythed chariots on to the hill but achieved little else.  The Carthaginian Elephants hadn't moved.


The scythed chariots were up on the hill but the phalanx to their right was already disrupted.


The Spanish held off the phalanx to their flank, whist the Italians faced off against a second, disrupted phalanx.


Turn 4

The fight in the centre was going badly for the Seleucids with a pike phalanx crumbling and fleeing.  The Spanish survived repeated attacks by another pike block and the Seleucid left and Carthaginian right didn't move much.


Greek Hoplites are about to exploit the destruction of a Pike block but my scythed chariots were about to ride down all before them.......


The phalanx on the extreme right of the Seleucid line was crumbling after taking two hits and its compatriots on the hill couldn't manage to kill the Spanish.


The fairly inert troops on this part of the battlefield have hardly moved and the Elephants haven't moved at all.


Turn 5

In turn 5 the pikes in the centre had rallied and on the right there was a glimmer of hope for the Seleucids.


The scythed chariots had shot their bolt and managed to do nothing.  The Thureophoroi moved up on to the hill to cover the chariots inevitable destruction, I had realised there was a risk to this manoeuvre but given the dire situation I thought it was worth it.


The Spanish were finally disrupted but there was a unit of Ligurians waiting to get into the action.


Turn 6

The scythed chariots were destroyed by the spearmen they'd attacked. These troops had exploited their success to attack the Thureophoroi on the hill.  The phalanx was holding on, just and on my side of the battlefield, little had changed.  The Elephants had still not moved.


There was a worrying hole in the Seleucid defences. With troops ready to move through.


A doubly disrupted pike block looked about to crack.


The Carthaginians began a slow move to withdraw troops to put more pressure on the centre.


Turn 7

Finally the pikes had finally had some success but the Seleucids were still in trouble in the centre.


Despite moving up the Thracians to slash at the Spears, whilst attacking down the hill the Seleucids did nothing.


But the Spanish were finally dead.


Turn 8

This photo was taken part way through turn 8.  The major developments are shown below.

Also for those eagle-eyed readers Steve's shirt changes from pink in the previous turn to striped in this picture.  This is because we played the game over two sessions.


The Carthaginian right's General led a unit of Cavalry up to threaten the Seleucids.


The pikes have been able to rally but the Ligurians have moved up to replace the Spanish.


Turn 9

The Carthaginian Cavalry have engaged the Thracians, the leftmost pikes have been flanked by Spearmen and the Hoplites on the hill have been flank charged by a unit of Tarentine Cavalry.


The Thureophoroi failed to hit the Spearmen they were facing but had killed the General who due to the Patrocles Stratagem survived unhurt.  The Hoplites were disrupted by the Tarantines.  The flanked pikes were doubly disrupted.


The pikes here were struggling to defeat their foes.


Turn 10

It looks like a great turn for the Seleucids.  Not only have they destroyed the Italians on their far right, the Tarantines have destroyed the Hoplites on the hill.  They've also disrupted the Carthaginian Cavalry on the left.  Oh and the Elephants still haven't moved.  However not all went their way, the flanked pike block had attacked, not done any damage and were then destroyed.


The Agema move out to threaten the disrupted Cavalry.


The second pike block collapses and the Spearmen attack the Tarantines.


The Italians fled leaving some light troops as the only cover for their left flank.  The command is demoralised.


My best turn of the game in terms of units activated.  This stack is as high as the total of my last four turns.


Turn 11

The final turn the pikes destroy the light troops to their front and march for the camp.  Seleucid lights try to stem the Carthaginians in the centre.  On their the left the Seleucids kill the Carthaginian General and disrupt more Cavalry.  At the same time pushing on with their Cataphracts.  Overhead shooting by the raw bowmen hits but is saved.  You can also see my Reinforcements have arrived, in the form of a unit of Scythian Light Horse Archers, to the left of the camp towards the bottom right of the photo.


Finally the Cataphracts move.  Which was one move more than the Carthaginian Elephants who never moved for the whole game.  Steve and I shared the same sort of luck with our activations on this side of the field....bad!


The Carthaginians have disrupted Cavalry and Spearmen and their right flank General is dead, killed by the Thracians and their two-handed Rhomphaia.


There's little to stop the Carthaginians on the hill but the death of the General was too much and their army breaks and falls back.


The game was touch and go all along.  One more unit of pikes and the big Seleucid command would have been demoralised.  That would pretty much have been it for the Seleucids.  All in all a really good game which could have gone either way.